
Here we are, back for part two! This post is in the form of a photographic narrative, so every chunk of text is accompanied by a colorful and enlightening photograph. Read on and enjoy!
So, after deciding (broadly) on my ideas for this collage, I started leafing through the materials I had. I suppose that the first step in this whole process would really be amassing the materials... but since I generally collect bits and pieces of things that interest me already, there wasn't much of that to be done when I started this project. All the collage pieces used in this project are from library book covers - one day last semester, my boss gave me the choice of having as many book covers as I'd like from a box that they were going to dispose of. Hooray, opportunity!
Another note, I generally don't decide on which ones I am going to use in the final product until I have cut up the pieces to my liking (in this case, taking off the interior descriptions of the books and other "boring" areas of the sheet). So, each of the sheets below was a creation of the moment - I chose the pieces and arranged them right on the spot.
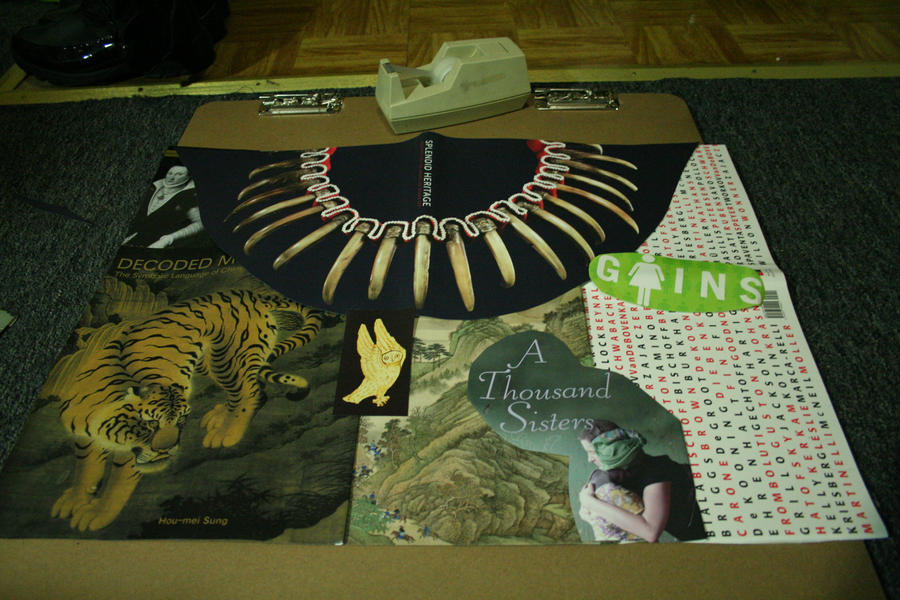
 I decided that I would make four broadsheets in the size of the pieces of paper that I had laid out before (11"x17") and not attach them just yet to the pieces of paper, but just keep them aside until I was finalized on the sketch I wanted to use. This is the first broadsheet, which you can see is pretty similar in size to the reference sheet of paper.

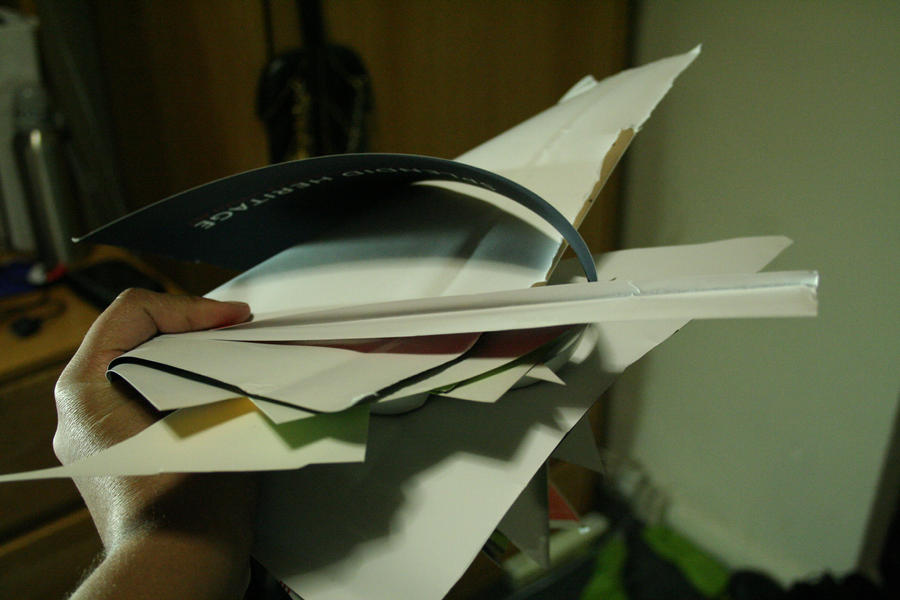
 The second broadsheet went pretty well also, but since I am working with book covers, there are some significant bends in each of the sheets (you can see that even more in the third and fourth sheets). I decided to put them under my giant sketchboard that I needed for my Basic Drawing class to flatten.

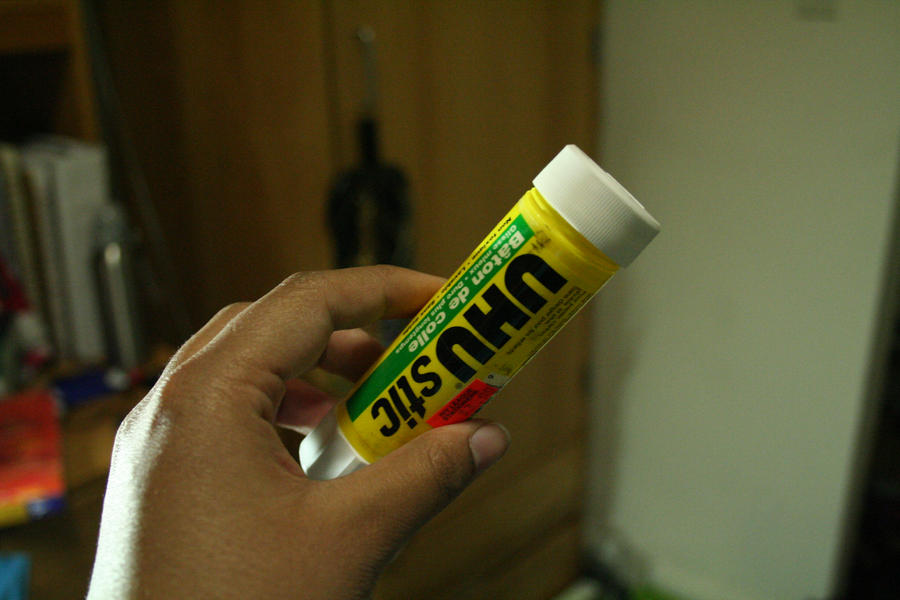 I was using stick glue for most of the project, as that is my typical collage default, but alas... my glue died on me in the middle of the fourth sheet! I gave it a proper burial and then went on to using bits of tape to finish up some of the parts of the fourth sheet.
 This is the smattering of the leftover pieces of paper that just didn't seem to fit "right" with the rest of the piece. They almost look like a collage themselves!
Overall, this part of the journey only took me an hour and a half, start to finish. I think that since the pieces were very large to begin with, I was able to speed up the process and fill in gaps without much difficulty. It did, however, make for less detailed layout combinations. In other collage work that I've done, it's been all about the little details.
Anyway, the next step was supposed to be cutting up these pieces to fit the ideas that I had envisioned (heads, bodies - all that). But now that I look at them... I don't want to sacrifice them! So I am debating about what the next action I should take is. Care to weigh in?
Take a look at the rest of this collage process in steps one, three, four and five.
You can also check out some more posts featuring my photography.
So, after deciding (broadly) on my ideas for this collage, I started leafing through the materials I had. I suppose that the first step in this whole process would really be amassing the materials... but since I generally collect bits and pieces of things that interest me already, there wasn't much of that to be done when I started this project. All the collage pieces used in this project are from library book covers - one day last semester, my boss gave me the choice of having as many book covers as I'd like from a box that they were going to dispose of. Hooray, opportunity!
Another note, I generally don't decide on which ones I am going to use in the final product until I have cut up the pieces to my liking (in this case, taking off the interior descriptions of the books and other "boring" areas of the sheet). So, each of the sheets below was a creation of the moment - I chose the pieces and arranged them right on the spot.
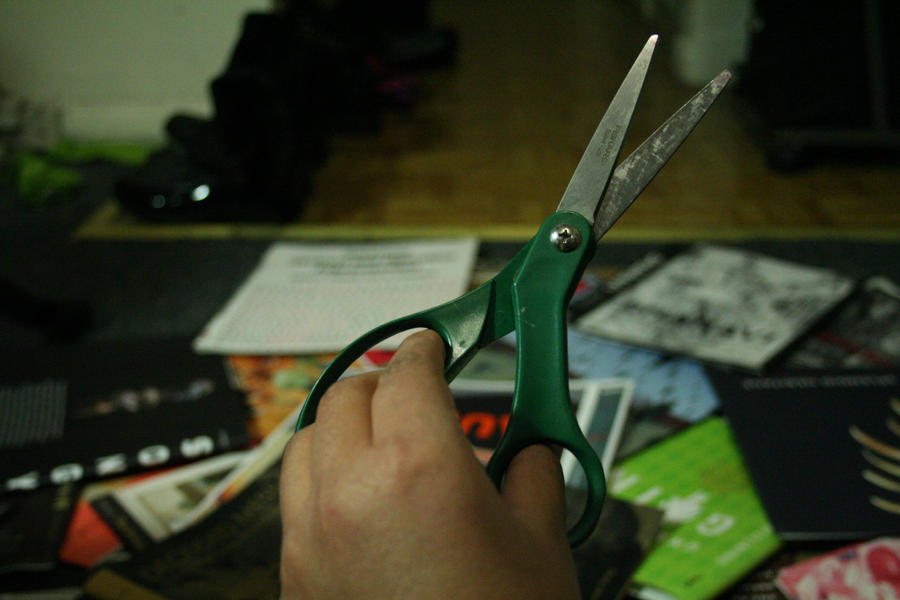
Then it was time to cut them up with my faithful scissors.
Here it is in its entirety.
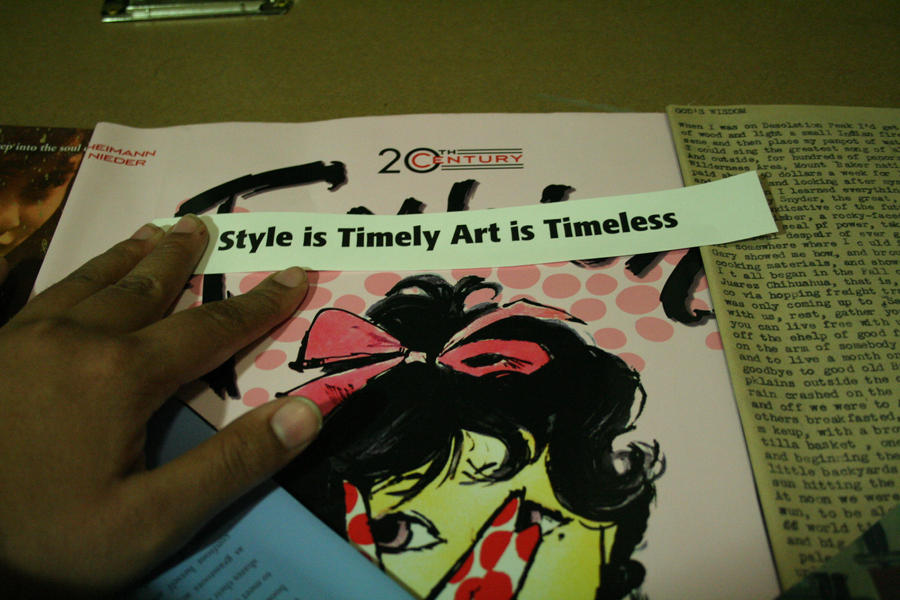
Here I am, smoothing out the little details in the piece.
Here is the third one.
Here is the fourth one! The brave tape is also featured.
Here are the leftover bits that went in the recycling!
Overall, this part of the journey only took me an hour and a half, start to finish. I think that since the pieces were very large to begin with, I was able to speed up the process and fill in gaps without much difficulty. It did, however, make for less detailed layout combinations. In other collage work that I've done, it's been all about the little details.
Anyway, the next step was supposed to be cutting up these pieces to fit the ideas that I had envisioned (heads, bodies - all that). But now that I look at them... I don't want to sacrifice them! So I am debating about what the next action I should take is. Care to weigh in?
Take a look at the rest of this collage process in steps one, three, four and five.
You can also check out some more posts featuring my photography.